Hello everybody.
After the tutorial on how to set the OUYA to 720p, I’ve been looking for a way to make the configuration simpler, without having to edit the build.prop file.
On a router that I have here that I use as a DLNA and file server for the OUYA using NFS, I send commands via SSH to activate/deactivate the DLNA and NFS server and eject the USB flashdrive and I know that I can do the same thing with OUYA, using the SimpleSSHD apk.
about the apk, from the F-droid website:
“SimpleSSHD is an Android SSH server application, based on Dropbear, written by Greg Alexander.”
The creator’s website: http://www.galexander.org/software/simpleshd/
Both versions on the F-droid website and the creator’s website don’t work on OUYA, so we must find the last version compatible with OUYA, version 21.
Note: I uploaded to the archive.org a compatible version.
After installing it, go to “MAKE → SOFTWARE” section and run the program.
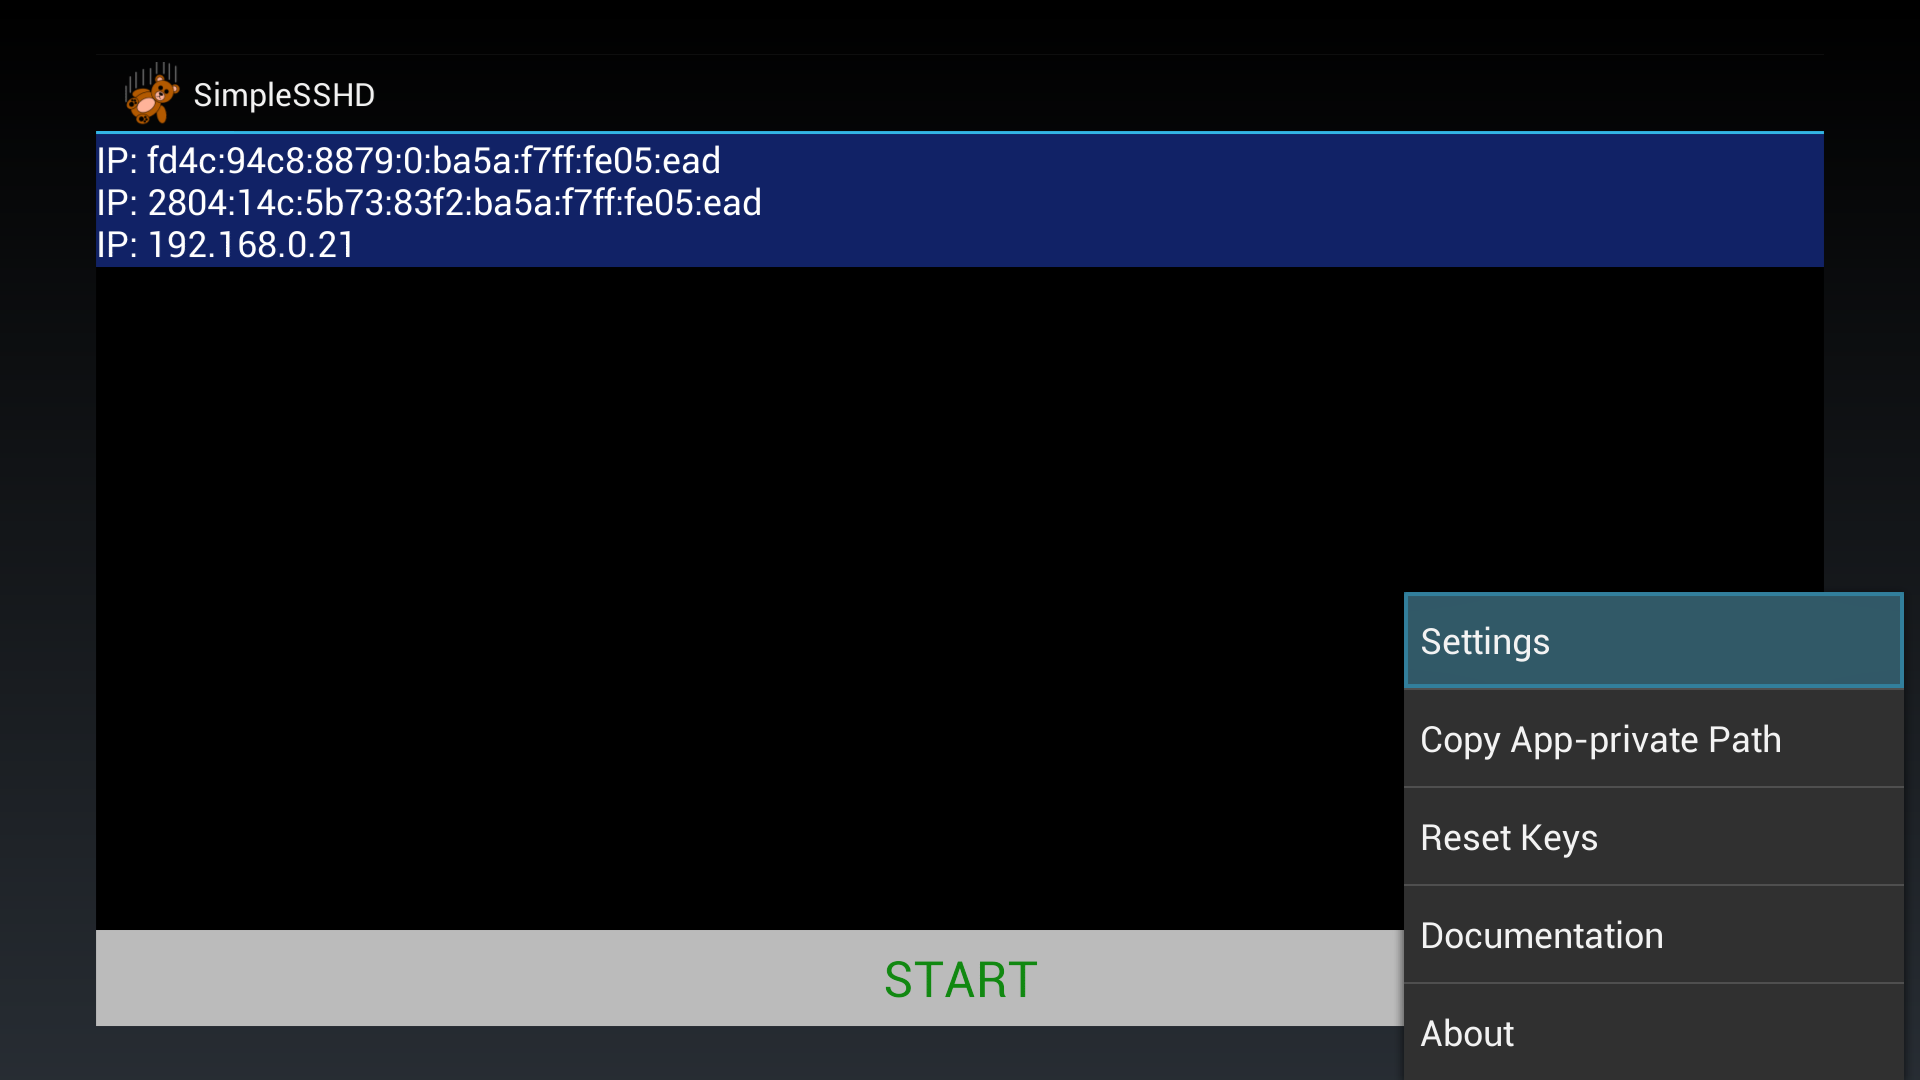
This screen will appear (Press the “u” button on OUYA controller to the menu appear):
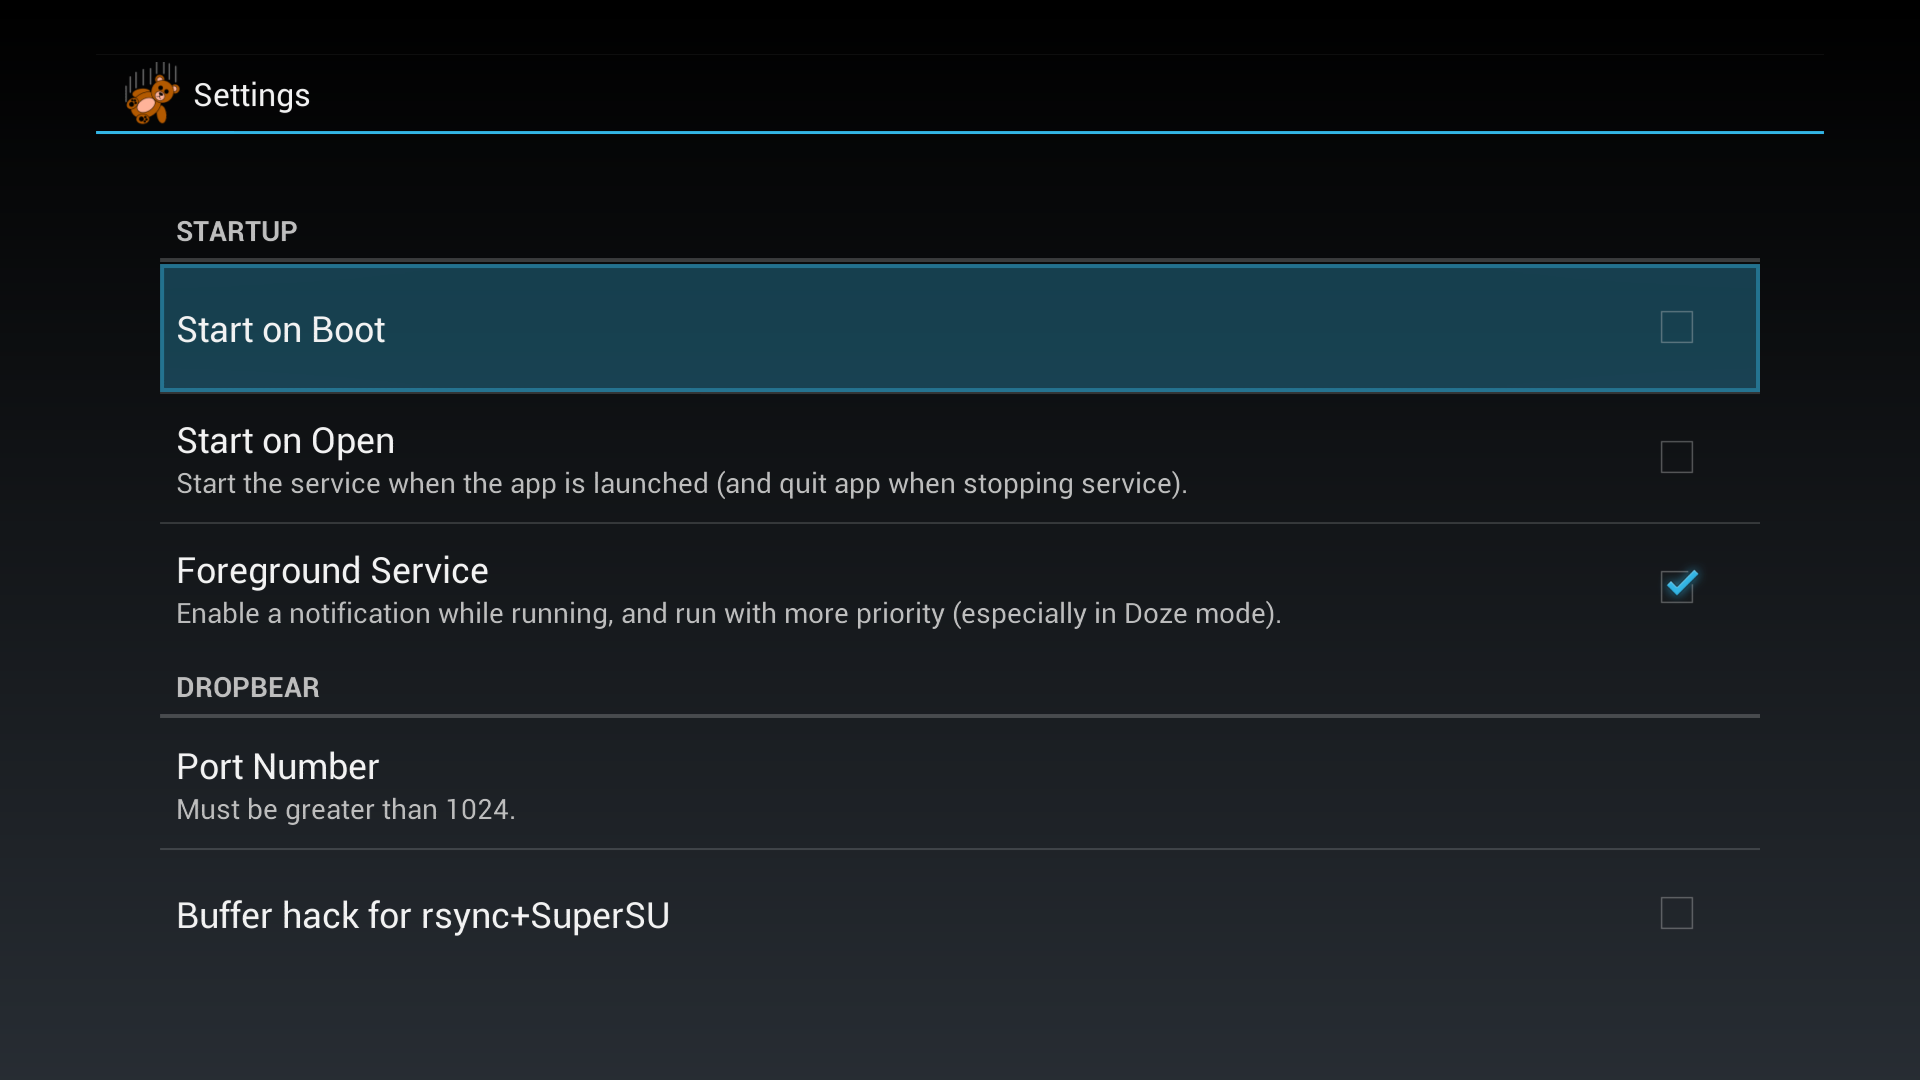
Go to “SETTINGS” and mark “Start on Boot”:
Go back and start the ssh server (Just press down on the initial screen and press the “O” on OUYA controller):
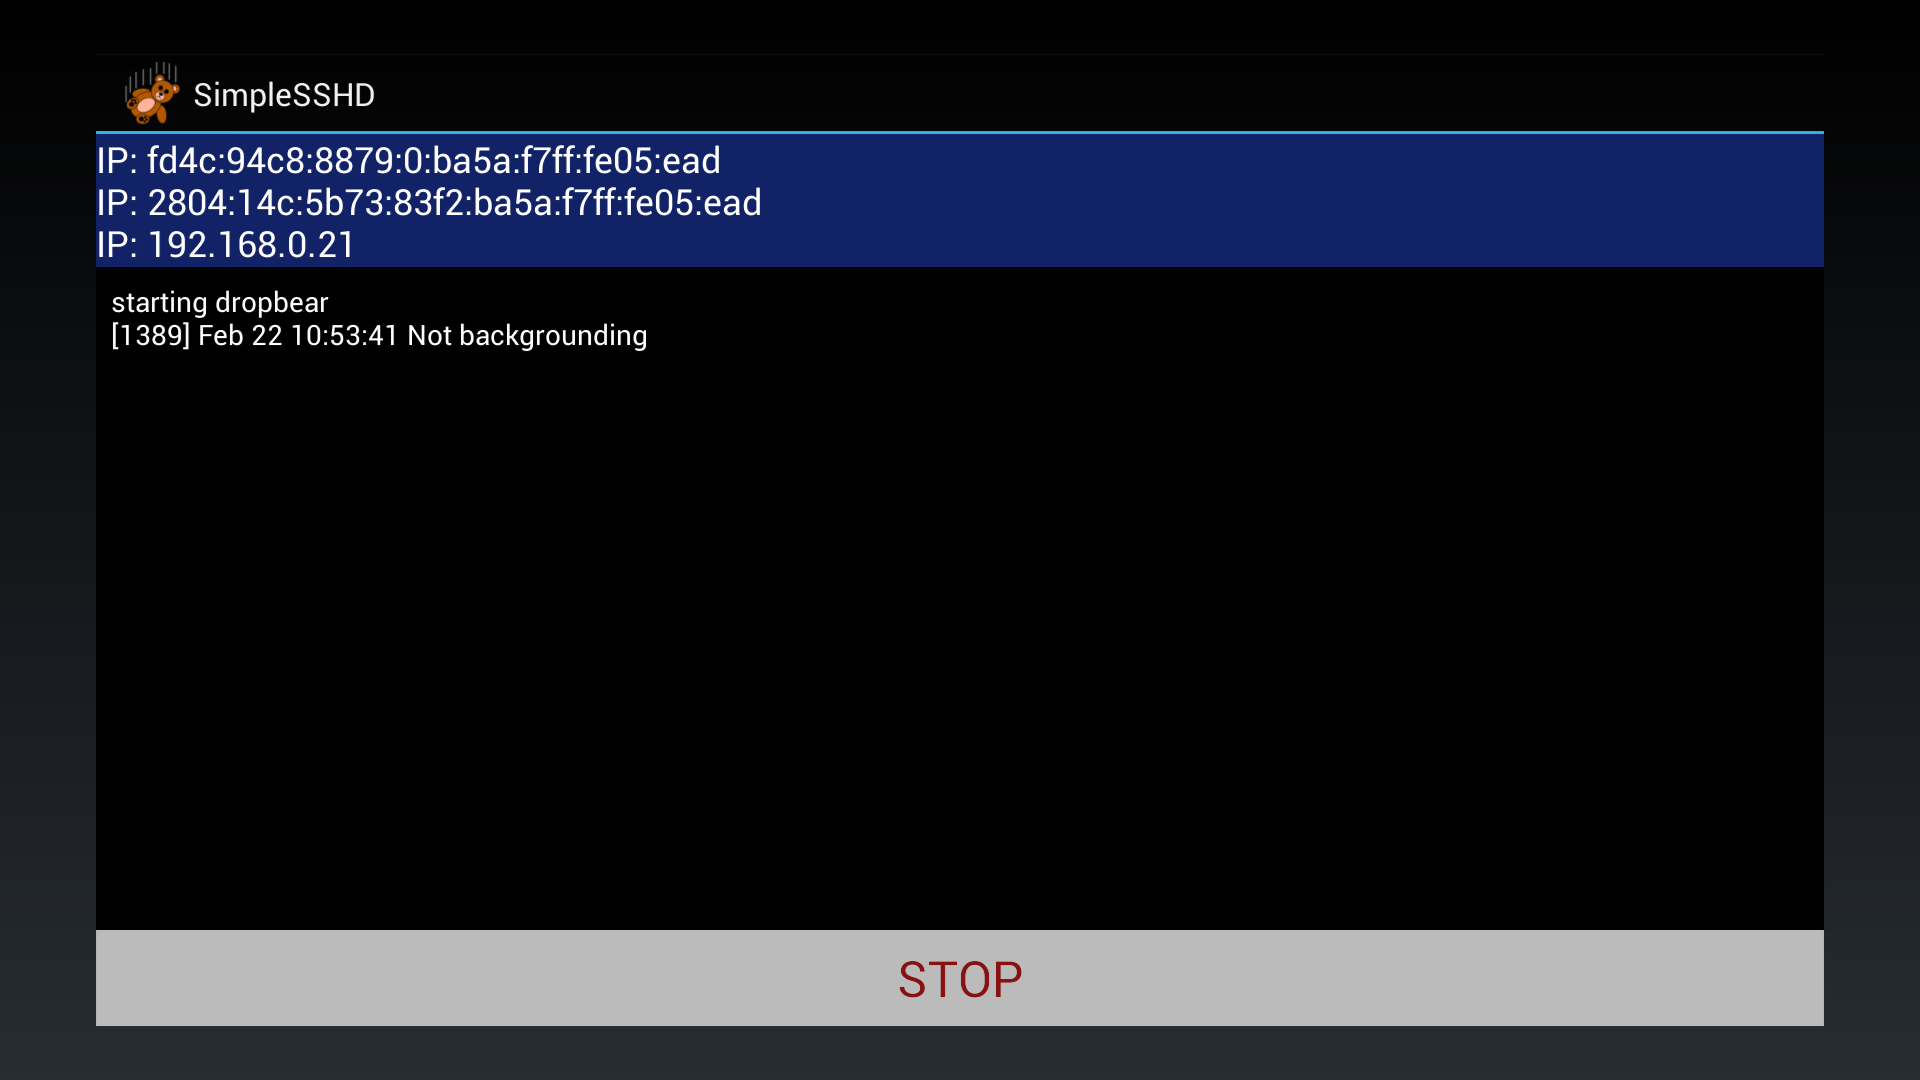
ATTENTION: DON´T EXIT OF THE PROGRAM NOW!
Let’s set it up, because SimpleSSHD normally only work with authorized_keys.
Try accessing the OUYA through SSH. On my Linux machine I did ssh 192.168.0.21 -p 2222 (SimpleSSHD use the port 2222):

It will ask for a password on the first try and it will be displayed on the SimpleSSHD screen (it will change with each login attempt):
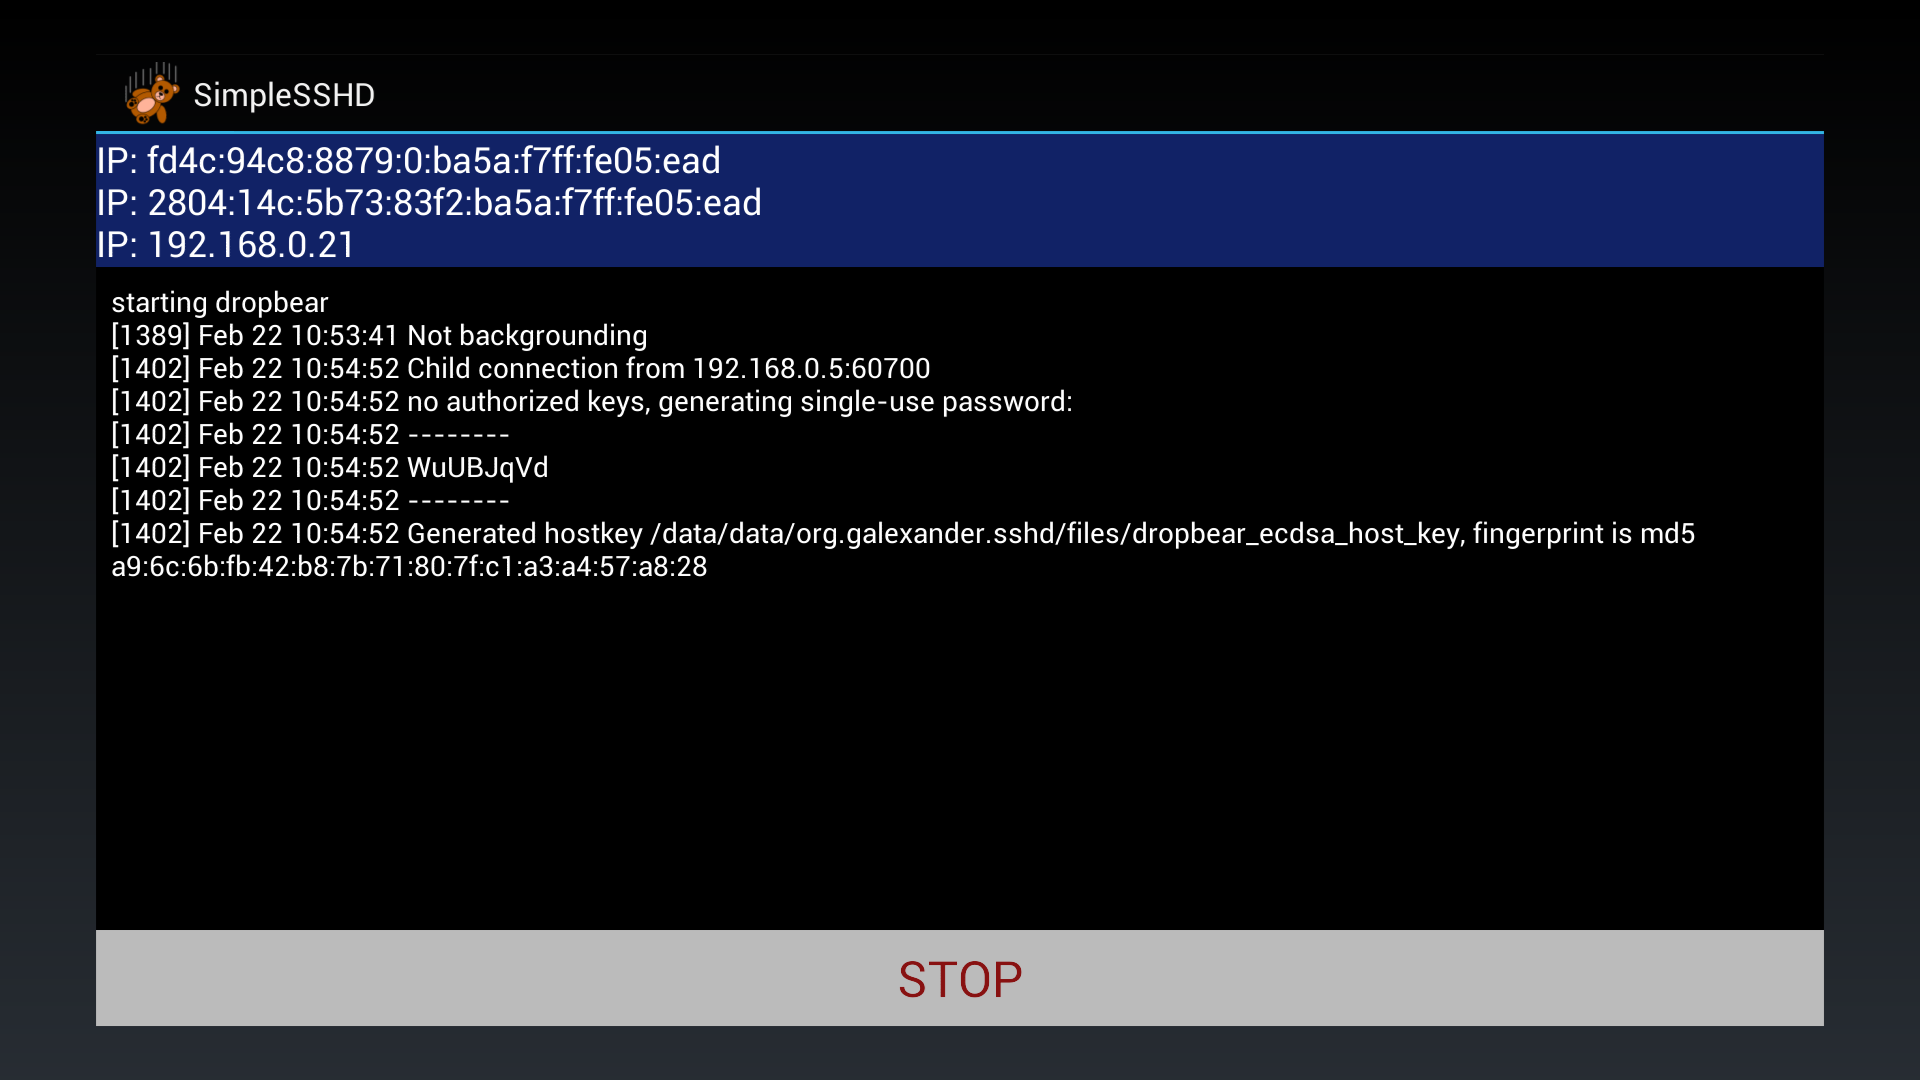
Type the password on terminal and voila we are inside OUYA through SSH and I can list the files inside the “HOME DIRECTORY” of SimpleSSHD (/data/data/org.galexander.sshd/file):

Now we should create the authorized_keys file in this directory. Just type vi authorized_keys:
![]()
You should put inside this file the pub keys of the machines/programs that you will use to access the OUYA.
Windows users can follow this tutorial to create the keys.
ATTENTION: I really don’t know why, but on my machine I can only use ecdsa keys with a length of 256 bits. Using Mercury SSH on my android phone I can use rsa keys with 2048 bit length. If you have problems with an rsa key try using an ecdsa key
After creating the keys, just open the file with the .pub extension in Notepad (yes, it’s just a plain text file) and copy and paste the contents into the authorized_keys file following these steps:
- Press “i” on your keyboard;
- Paste the content;
- Press “esc” on your keyboard;
- Type :wq end press “Enter” on your keyboard.
Now type exit and try to connect again. If you’ve done everything right, you’ll connect without having to enter a password.
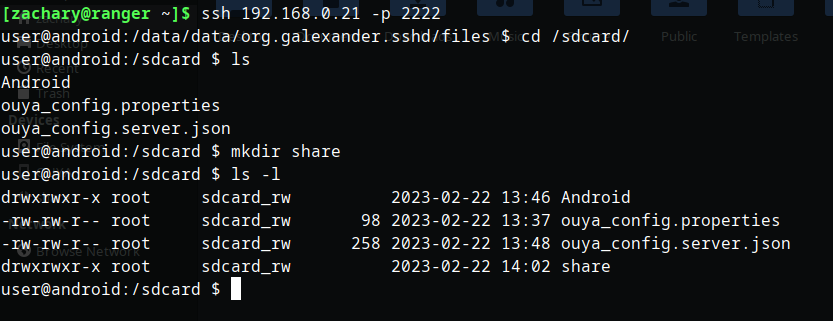
Now you can access the files on OUYA’s internal sdcard:

Delete files, create and delete directories:
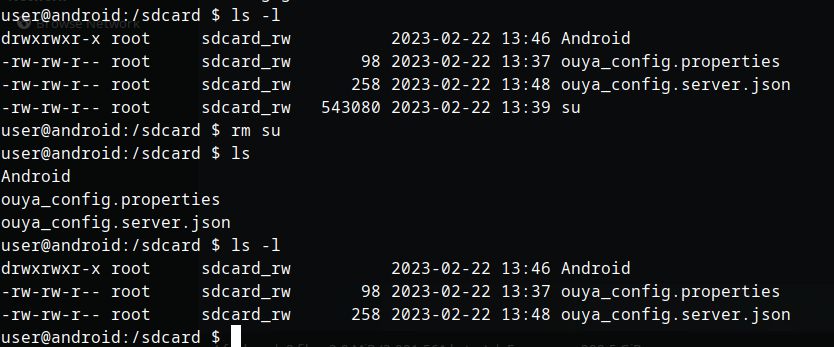
But the best part is you can send commands to OUYA like mount NFS shares  .
.
Before I had to use an apk to run a script on OUYA and mount my NFS share, but now I can pass the same command through ssh:
![]()
Since the command must be done by the root user, the superuser apk will ask for permission:
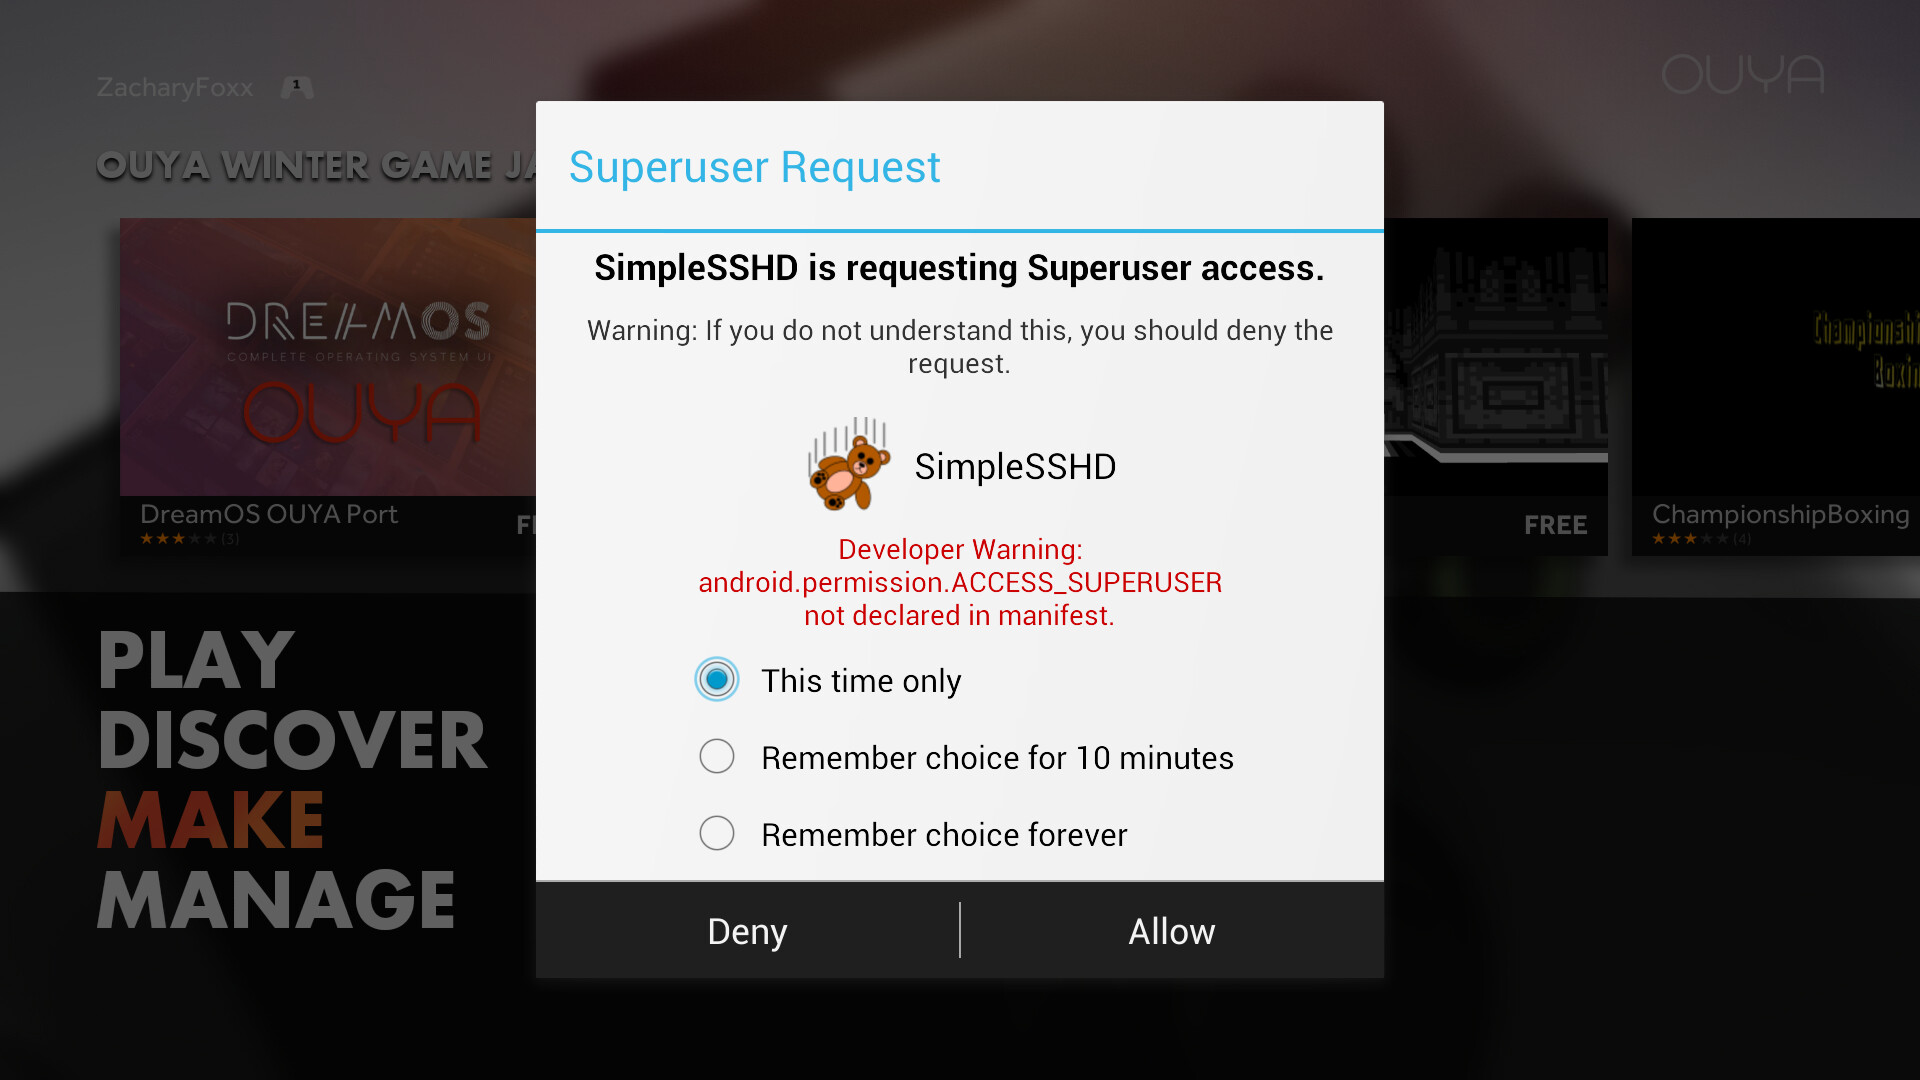
Give permission as done for other programs and we have the share mounted and accessible:
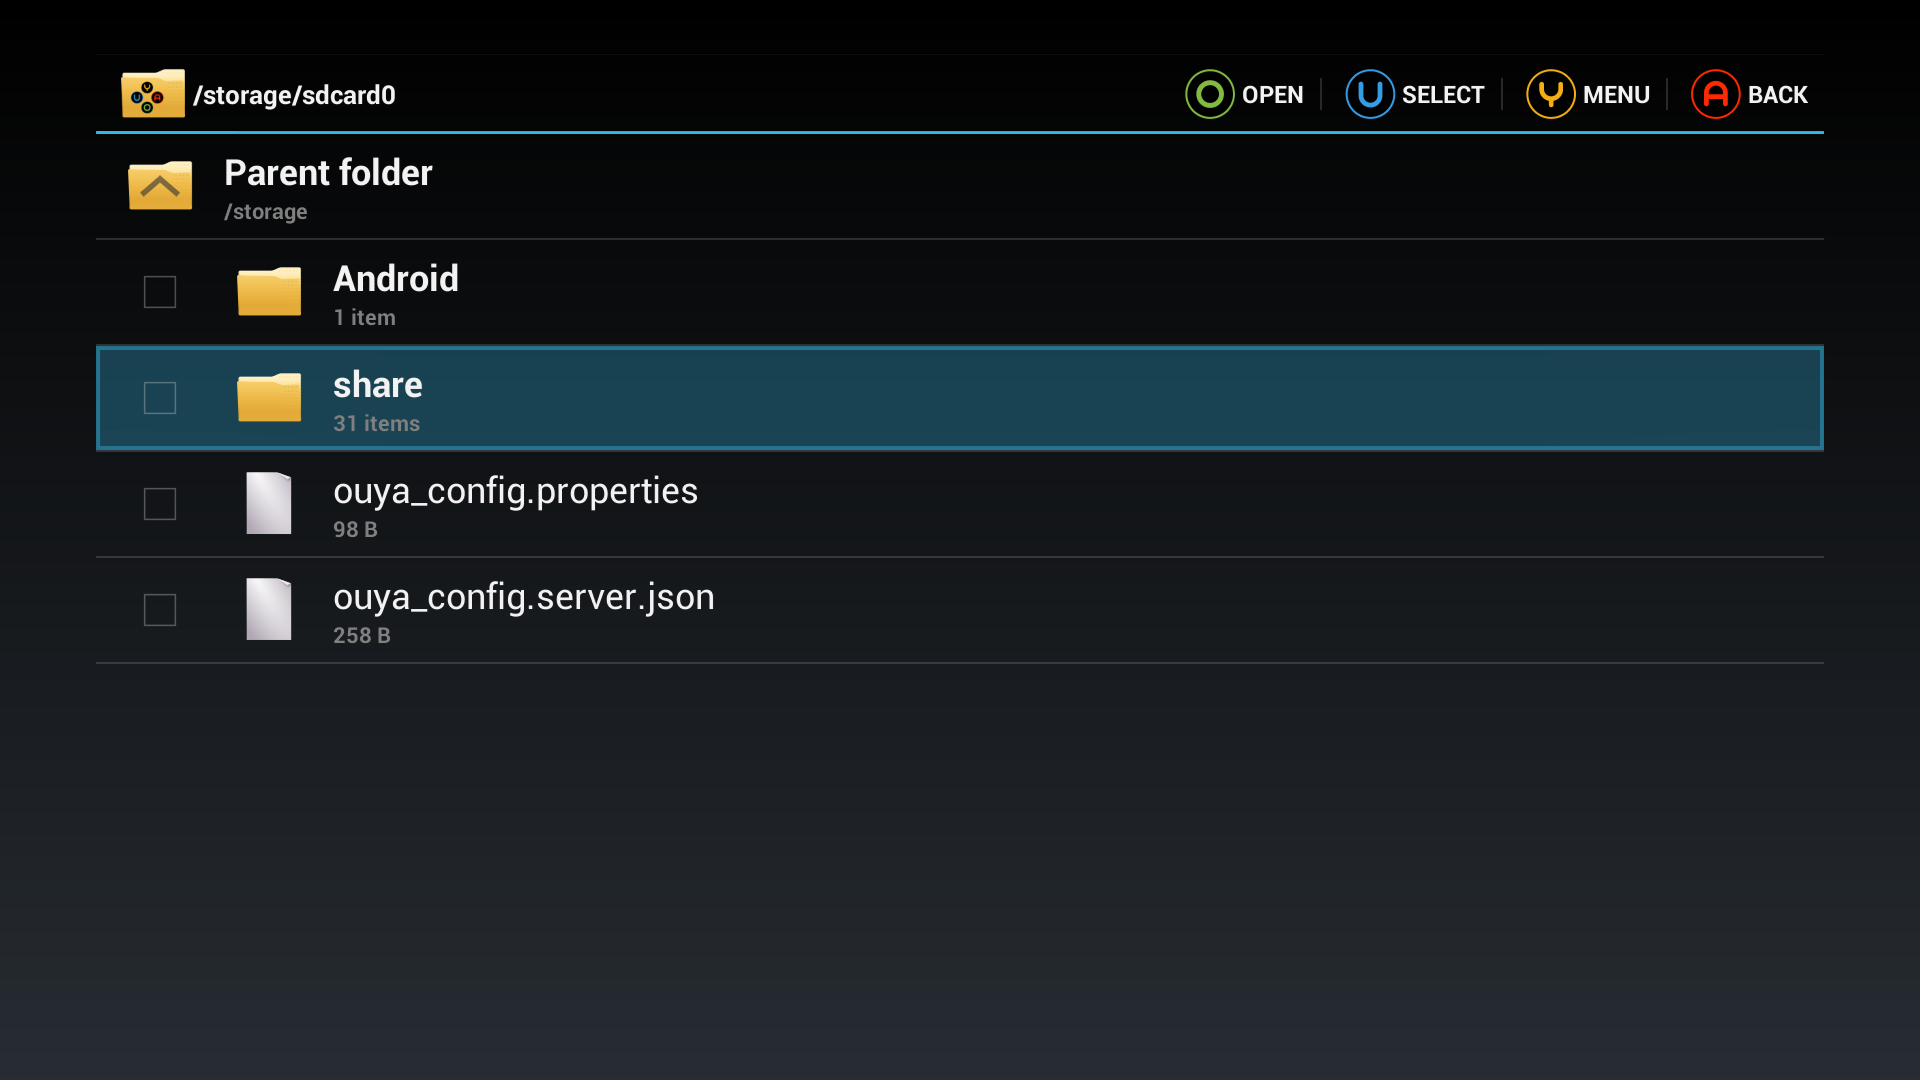
Another positive point is that I didn’t have to manually create files or folders on the system partition.
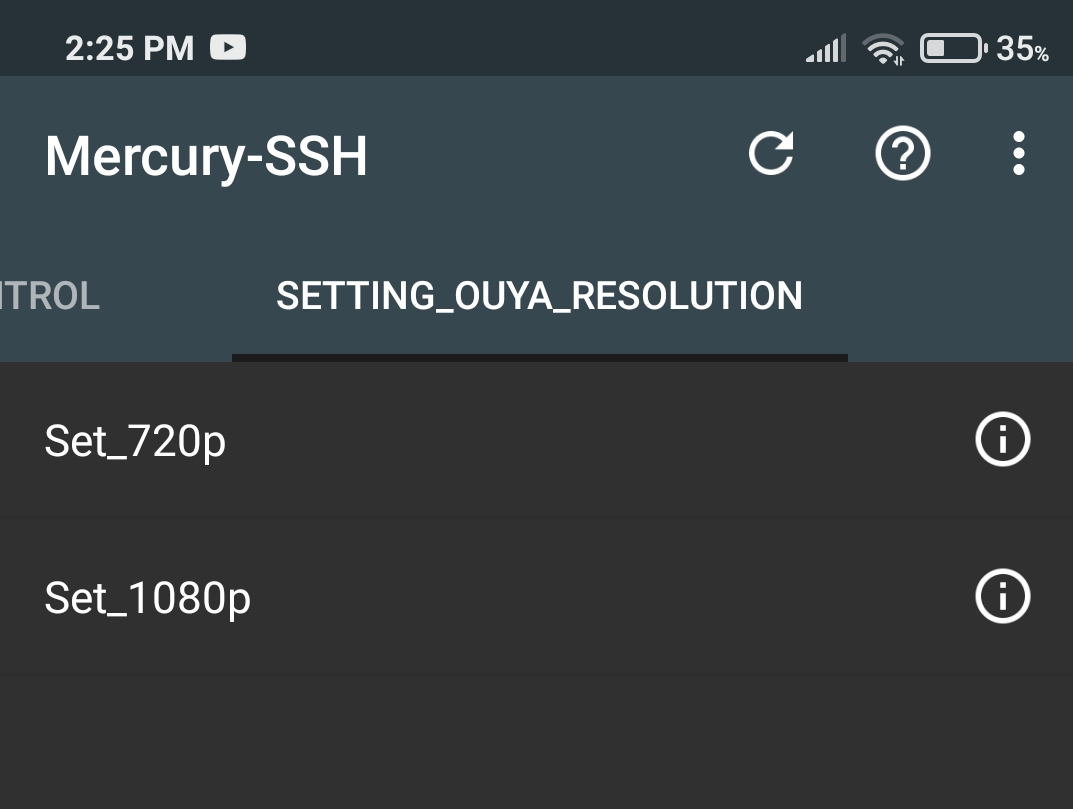
The same thing can be done to change the OUYA resolution from 1080p to 720p and vice versa, which previously needed to be done via build.prop file or even via adb, necessarily on the computer. Using SSH, the change is on the fly:
![]()
I recommend using Mercury SSH program, so you have a remote control for OUYA on your phone:
You can also send files using the scp command.
